Monday, August 12, 2013

New rig decision

Hi!

I left out to tell you that I made the choice to replace my current ENGL-rig with a Fractal Audio Axe-Fx II and a MFC-101! After fiddling around with the Axe-Fx for some time I found it to really sound good and have almost no limitations with respect to my needs for effects. Really complex, but still easy to operate and configure. The MFC-101 was also very versatile and went hand in hand with the Axe-Fx in a really nice way. 

So, now it's time to engineer my set of sounds I use and then try it out at rehearsals and live.

Rock on!

Wednesday, August 7, 2013

Renewing a guitar

Hi!

For a long time now I have been unsatisfied with my red Charvel guitar. It plays well, but I don't like the looks of it.
The old look
I have for a year or so thought about having it repainted. But I just recently stumbled on a post somewhere on the internet about someone who had changed his guitar's look using something called a guitar skin. I have never heard about it before, but I found out that there are several web shops that sells guitar skins, or wraps. You can select from a number of templates or design one of your own. Nice!

I found one company in Europe that sells guitar skins, Guitarskins.eu, so I placed an order there. Unfortunately Guitarskins.eu had gone out of business so I had to look further for a web shop with a nice guitar skin design. I found one called Wrap Edge. They make all sorts of wraps, not just guitar wraps. The problem, I thought, with ordering from an American company was the delivery time. But I got my wrap just eight days after placing the order! Really quick considering that they print out the skin after the order is placed. Good job Wrap Edge!!

Since I was eager to get my "new" guitar ready for the gig this weekend, I started with the application the same day I got the skin, i.e. yesterday. First I removed all the hardware. Unfortunately the EMGs in this guitar are old ones without the quick connector. Since I did not want to bother about soldering them loose, I left them "hanging" in their sockets.

First I removed the hardware

I then positioned the wrap symmetrical on the body of the guitar, cut open small holes for the pickups in the wrap, placed the wrap on the guitar and pulled the pickups through the holes so that the wrap could rest on the body of the guitar. After that I removed the protection paper on the bridge side, cut it off with a pair of scissors and gently positioned the wrap on the body to anchor it. The rest of the protection paper was a little difficult to remove, but I managed to get it all off by removing and cutting it off section by section.

Fitting the wrap on the body without getting wrinkles or bubbles was a lengthy process. I was a little nervous that the wrap somehow would get destroyed by the constant putting on and taking off that was required, but nothing happened with it. Quality :-). I think the whole process would have been a lot easier if I had removed the pickups before applying the wrap. I also tried to get as much of the wrap to go over the edges of the guitar as possible, but I had to give up that idea. It was impossible. With that in mind I could have bought a smaller size. Never mind, I'm totally happy with the end result!!


The wrap in place with the pickups on top 

The final result!

The final result a little closer. Can you see the wrinkles?

 The surface does not look good if you are really up close, but at a normal distance from the guitar it looks killer!!! I had to do a couple of small wrinkles on purpose between the pickups so that the rest of the guitar would be wrinkle free. In the end at a normal distance they are impossible to spot so that trick worked out fine. The small dots on the surface here and there must be because of my lengthy putting-on-and-off routine. So if you plan to do this and you are really fastidious, take your time and remove the pickups!

This was a really nice way to refresh an ugly guitar. Cheap and rather easy. I recommend!

Rock on!

Monday, July 29, 2013

Current rig with pictures

Hi!

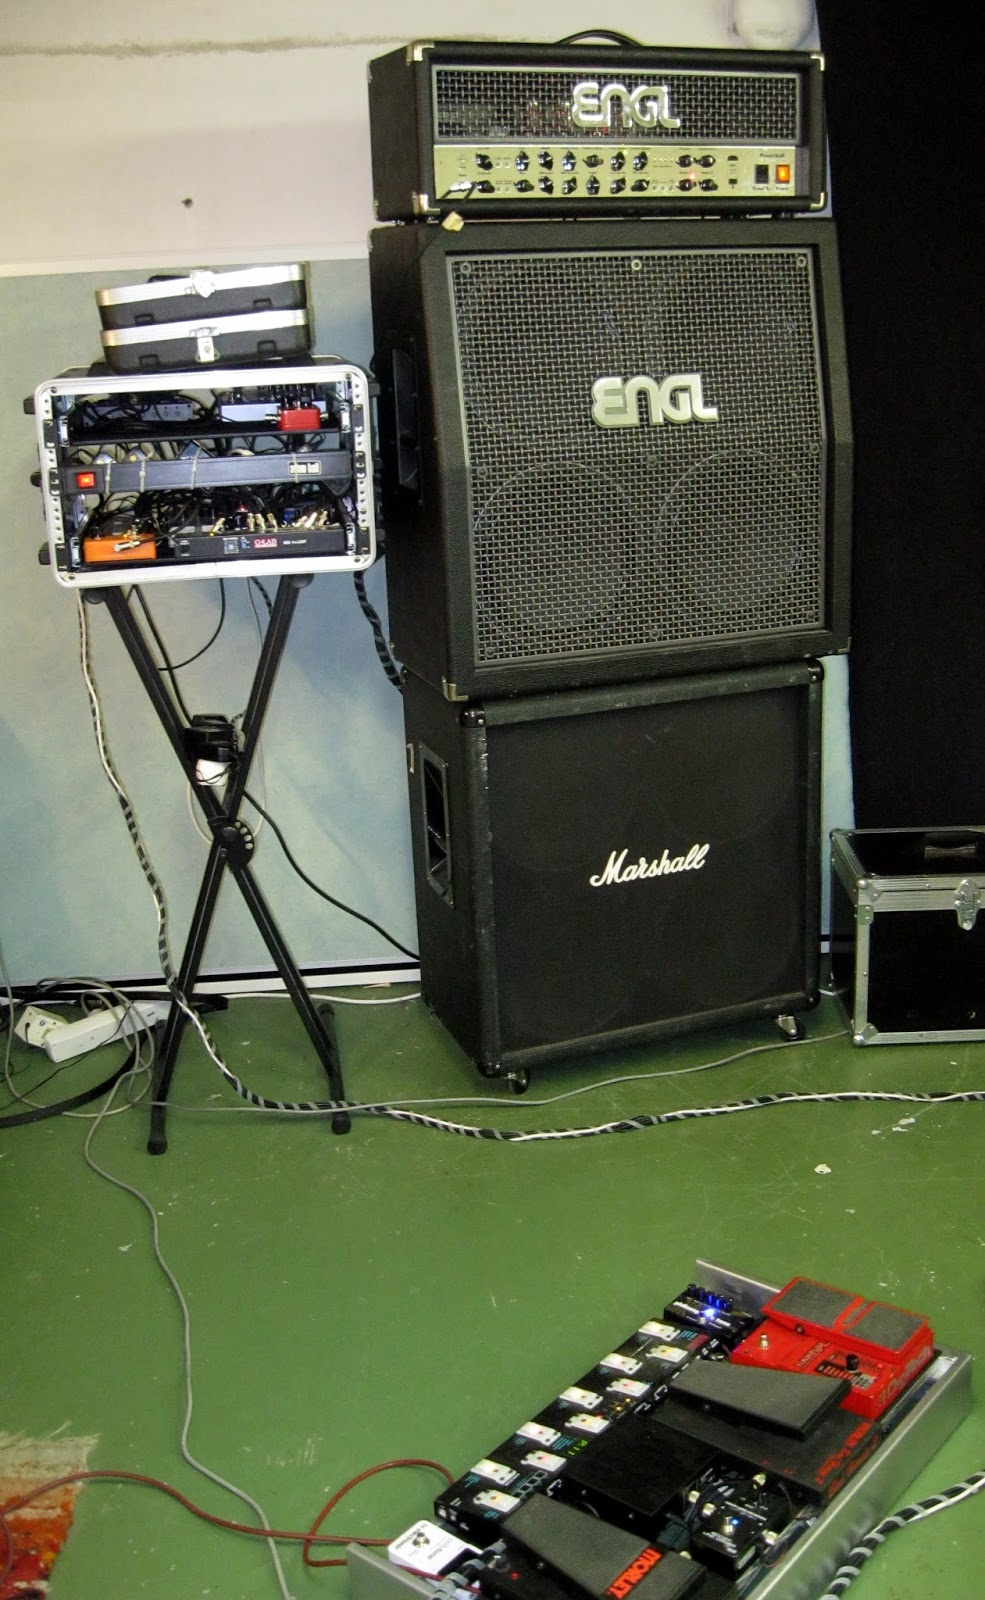
I showed you in a past post a connection diagram of my current rig. I will now complete the description with pictures of it.

The whole rig

The pedal board

The rack containing all gear not on pedal board

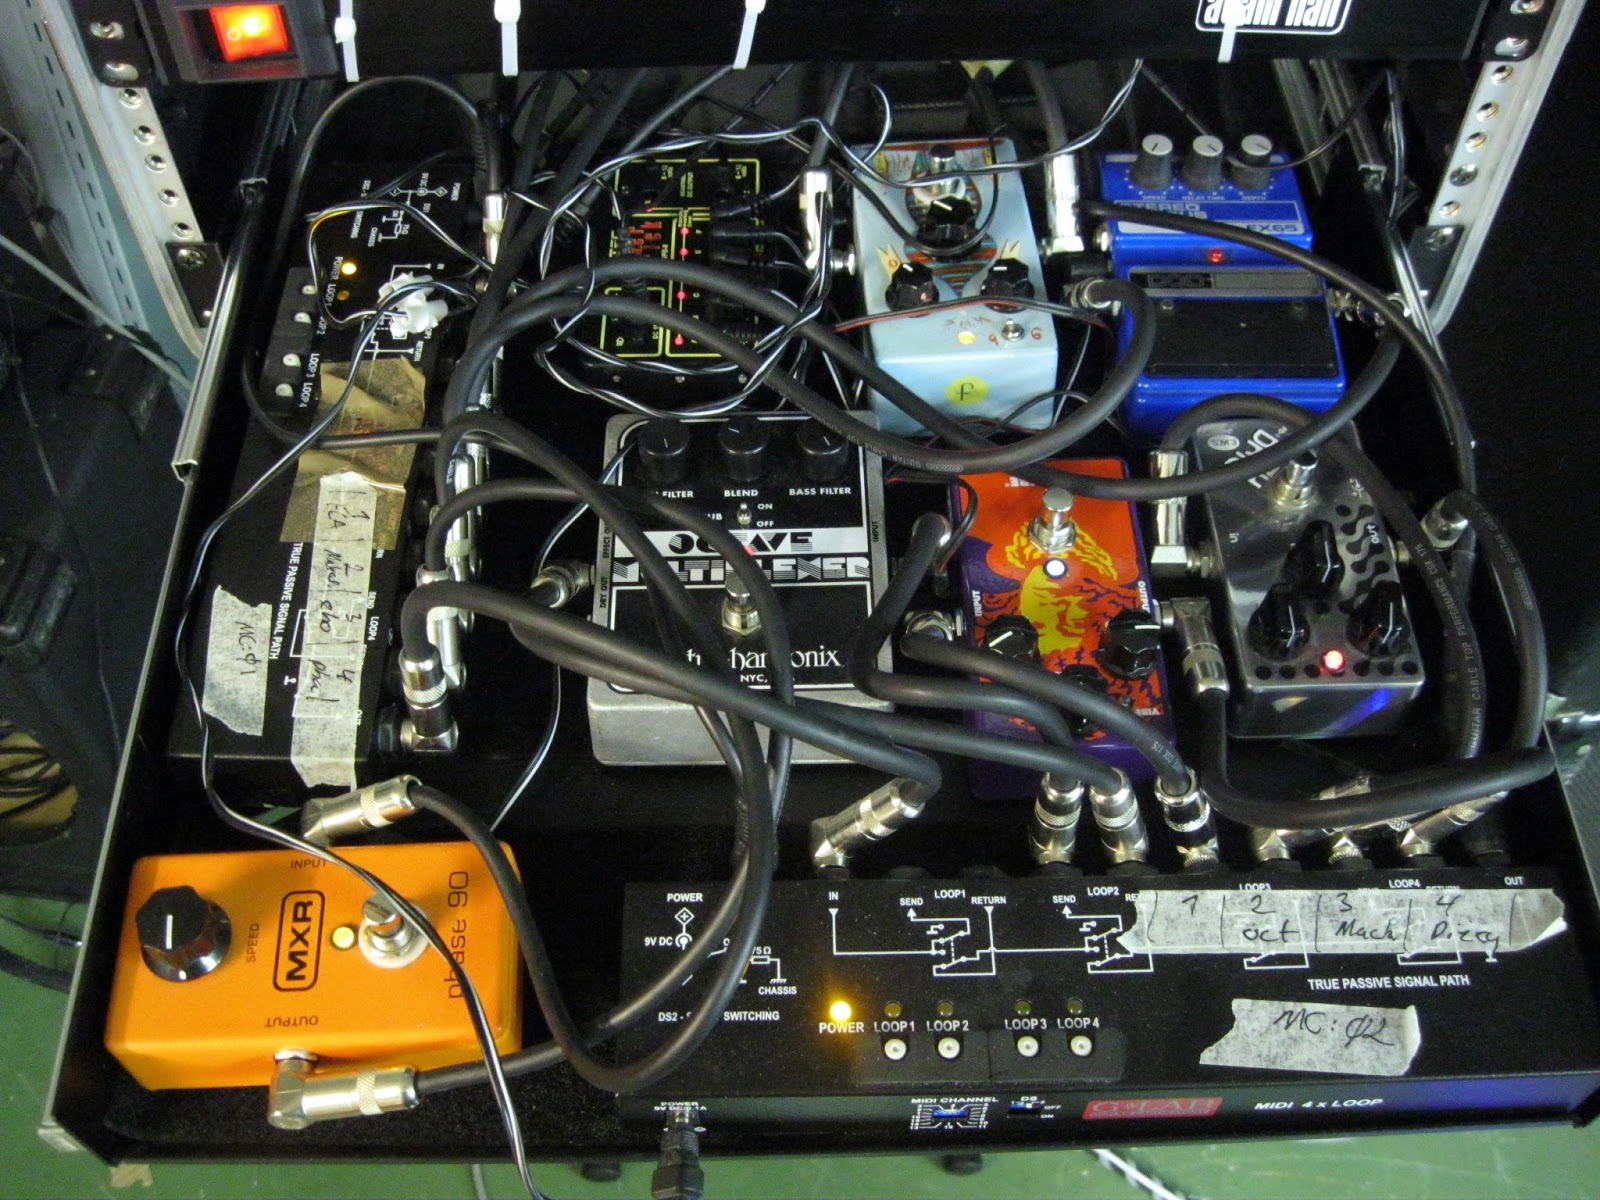
First shelf contains pedals and swithers before the ENGL head.
The wiring here is not so pretty :-)

Second shelf contains an ampswitcher and
pedals in the effects loop of the ENGL head. 

The almighty ENGL Powerball head :-)

The ENGL cabinet

The old Marshall cab I use to elevate the ENGL cab

Rock on!

Saturday, July 27, 2013

Tremolo stabilizer

Hi!

Today I finally replaced the Göldo Back Box in my BC Rich with a Hipshot Tremsetter! As you might have seen I have always used the Tremsetter before, but I got curious about the Back Box. Read the whole story here.

This is how the Back Box looked installed:


First I removed the Back Box, springs, and the old spring holder. I then installed the Tremsetter springholders.


Then comes the scary part of the installation :-D. To be able to install the Tremsetter you have to drill a hole in the guitar. 

This is how it looks when all is installed. The attentive reader can see that I changed the setup once during the installation. As the picture above shows I first installed the double spring holder and one of the single spring holder. This means that I had three springs in the setup. After test driving and adjusting I did not like the feel. It was to rigid. I therefore decided to remove one of the springs and hence you see only two singe spring holders in the following picture.


This is a close up showing the drilled hole and why you need that hole. The Tremsetter pin needs to go into the hole to fit into the cavity. The hole has to bee deep enough to swallow the pin when the whammy bar is lifted to the max.


Well, what can I say. Nothing beats the Tremsetter! I know that it is a little bit tricky to install and adjust, but if you know how to do it you end up with a really good whammy system. I like to have the tremsetter spring pretty much tightened so that the bending is fairly normal and uni bends requires no extra bend on the non bent note.This of cause requires more muscle to operate the whammy. But hey! I have no problem with that, I'm a viking!!


Rock on fellow guitarists, and the rest of you!

Wednesday, July 24, 2013

Second impression

Hi!

I can only say wow!! I found the key to the amp simulations in the Axe-Fx. I did not realize how close this thing is to a real rig. I experienced no real anger in the amps the last time, but what I just found out was that the master volume on the virtual amps sometimes was really low. And when I turned it up it worked exactly like it would irl, i.e. anger comes :-D. This discovery really changed everything!! Now I'm trying amp after amp with a cobstant smile on my face. I mean it's really awsome to dial in a modded plexi running on full throttle without disturbing the neighbours...   This is fun! I must continue now ... 

Tuesday, July 23, 2013

First impression

Hi again!

After unpacking the Axe-Fx and reading the quick-guide included from G66.eu, I hooked up the unit together with the MFC-101. Since we have a puppy in the house that needs supervision, I had to invade the office upstairs.


The sound system in this office is worthless. But this room is okay anyway since I can use my headphones, which is altogether a much better solution due to the late hours of testing :-)

Since the people at G66.eu already have configured the MFC-101 and the Axe-Fx for me it was very easy to get the system up and running. The only problem I had was with the expression pedal, it did not work at all. I used one of guitar chords to connect it to the MFC-101. After doing some reading in the manual (!!) I found out that you must use a TRS-cable, i.e. stereo cable, so that was probably the cause of the problem. I will buy a short TRS cable today and then it will probably work just fine.

I played through all the presets, all 383 of them!!! Turning effects on and off for every preset and listening. It was a tough job, but someone had to do it! After this I realized that you can build a huge variety of sounds with this babe. Normal and very natural sounding sounds can be accieved but also very complex and spacey ones. The effects sounded really nice but the crucial question to me was, can it really simulate a tube amp sound with the accurate playing feel? If it cannot do that I will keep my ENGL Powerball amp, so it better! The amps in the presets where nice, but non of them really delivered that slightly compressed sustain and fat mid tone for solos that I get from my Powerball. So the next step was to investigate the amp section further.

I tried some of the 83 amp simulations and looked at all the massive number of parameters that existed for each amp and fiddled with some of them. When I selected an amp it sounded rather good from start, but more nice then kick-ass-angry! Could the rest of the parameters provoke the amp in some way? Well the only way to find that out was to get an understanding for what the parameters did and try it out. So then I shut the thing off, grabbed the manual and headed outside in the Swedish summer with the dogs and read!

To be contined.....


Sunday, July 21, 2013

Comment!

Hi!

Please feel free to comment on my posts. I see that someone is reading them, but I would love some feedback!

Rock, and comment, on!